
After working with Miro for a while, you are probably thinking: "I need to learn some shortcuts!". But with a quick glance at the over 50 shortcuts in Miro, you might feel overwhelmed quickly.
In this article, I'm going to highlight the most helpful shortcuts. If you make those shortcuts second nature, you will have a better flow in Miro and can speed up your Miro workflow.
Table of contents:
1. Zoom at your fingertips
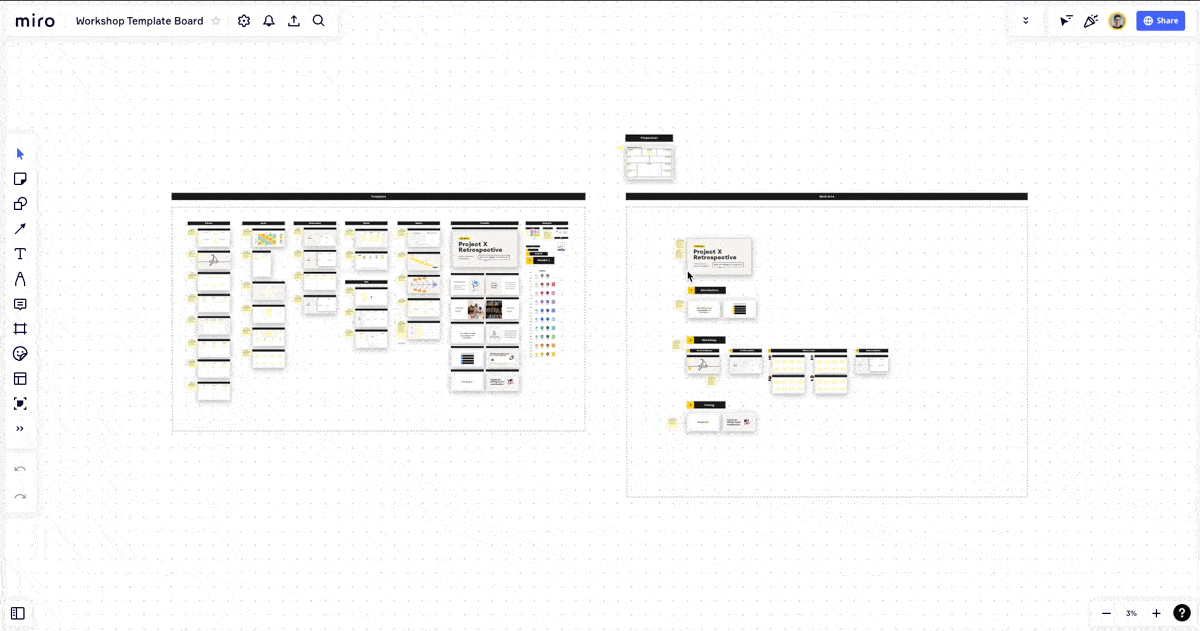
The primary feature of Miro and other online whiteboards is that they feature an infinite canvas. On the flip side, this means that you can sometimes get lost on the board or have trouble bringing the right things into view.
The two Miro shortcuts I'm going to show you now, are probably those that I use the most often since they are so helpful. What's great about these, is that you can alter between these two shortcuts to very quickly find things on the board and bring them into view.
Miro zoom in and out shortcuts
- Press CMD + 1 to zoom out and to get all elements on the board into your view
- Select any element and press CMD + 2 to zoom to the selected item and center it in your view. This also works with multiple selections or groups.
[.box-highlight]Note: You can also use these two shortcuts in combination with the Attention Management in Miro. First, press CMD + 2 to center the selected item in perfect view. Then call everyone to your view, and they will have it perfectly centered in their view too![.box-highlight]
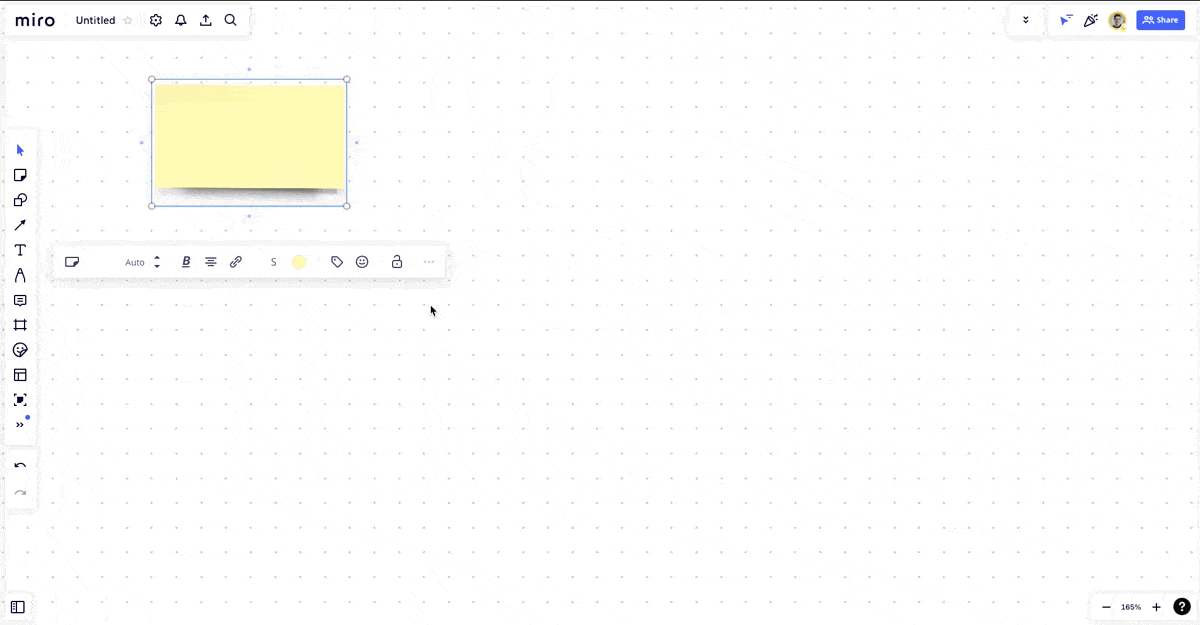
2. The fastest way to create board elements
The most time-consuming activity in Miro is creating board elements such as sticky notes, shapes, and frames. And a lot of the time, you also have to quickly switch between these tools since you rarely create many elements of one type together.
Luckily, there are easy Miro shortcuts to all important elements. These can save you a lot of time in the long-term since you basically never need to reach with your mouse to the left toolbar anymore.
Miro Tools shortcuts
- Press N for sticky note
- Press T for text
- Press S for shapes
- Press L for connection lines
- Press F for frames
- Press C for comments
[.box-highlight]Note: These shortcuts won't immediately create the element (e.g. sticky note), but rather fire up the tool. So most of the time, you press the right key and then directly follow up with your mouse. Give these shortcuts a try, to see what follow-up action you need to do with your mouse.[.box-highlight]
3. A better way to duplicate
It's often faster to duplicate elements or content, instead of creating everything from scratch again. Especially, if you created frames or groups of elements that can be reused. (e.g. grid of sticky notes)
One way to do it is to select one or multiple items and press CMD + D. This will duplicate the content to the right side. What I want to show here is another approach to duplicating elements, that I tend to use more often.
Miro Duplicate shortcuts
- Hold the ALT key and then select and drag any item to duplicate it.
- Select an element, hold the ALT key, and then press ←→↑↓(arrow keys) to duplicate to the top, bottom, right, and left of the selected element
[.box-highlight]Note: The ALT shortcut while dragging is very helpful, to place elements in a specific position. The ALT shortcut with the arrow keys is very handy, if you want to create a grid of elements. (e.g. sticky notes, frames etc.)[.box-highlight]
4. Moving the right way
Everyone probably has their own way of moving around on the Miro board. And technically, there is no right or wrong here. But I have the feeling, that there is one Miro shortcut that makes moving on the board a lot easier. Especially, if you are working with a mouse. Which I tend to do the most often.
Miro moving shortcut
- Hold SPACE, click somewhere and drag the mouse to move the canvas
- Or, hold the right mouse button, and drag the mouse to move the canvas
[.box-highlight]Note: I tend to use SPACE the most often. But honestly, I just learned that you can achieve the same with the right mouse button while writing this article. So if you are new to Miro, it might make sense to build a habit with the right mouse button. It might be even a bit faster![.box-highlight]
A list of all Miro shortcuts and hotkeys
There are two places, where you can find a full list of Miro shortcuts and hotkeys.
1. Miro Support & Help center
In the Miro Support & Help center, there is a dedicated article with an up-to-date list of all shortcuts and hotkeys. You can read the article here.
2. Inside the app
Click on Settings in the top left of your board. Then click on Learning Center and in the drop-down click on Shortcuts. This will open a popup where you can reference all the shortcuts inside Miro.
.png)
.jpg)
.jpg)
